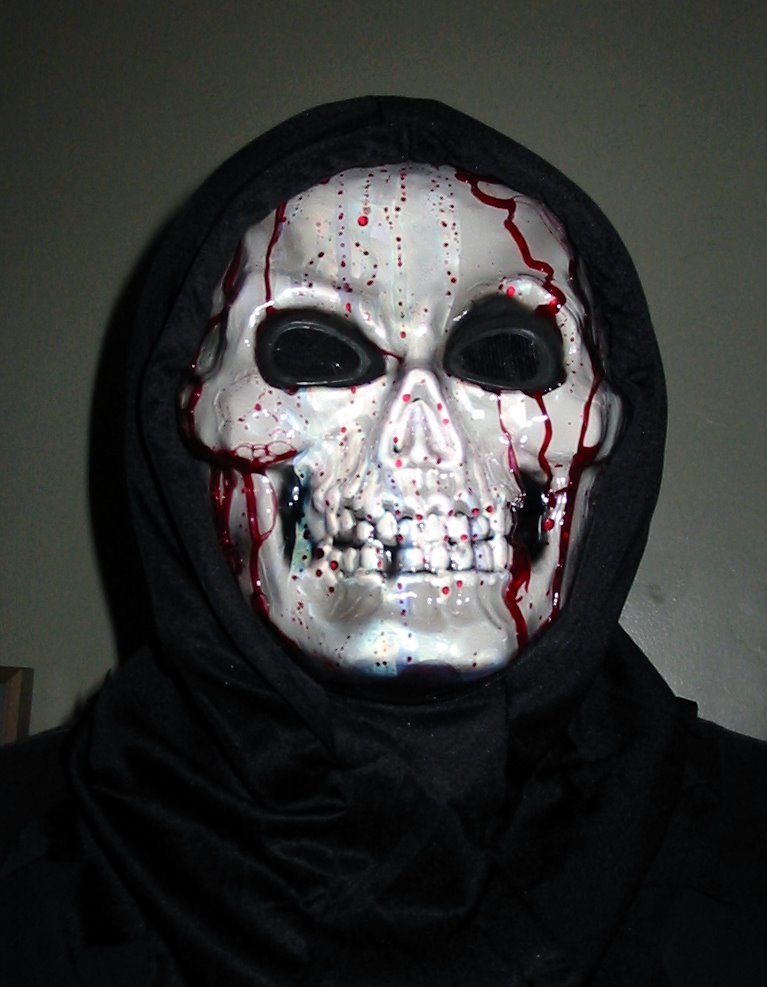
I'm sure some of you have been wondering what Apollo looks like. Well here he is in all his glory!
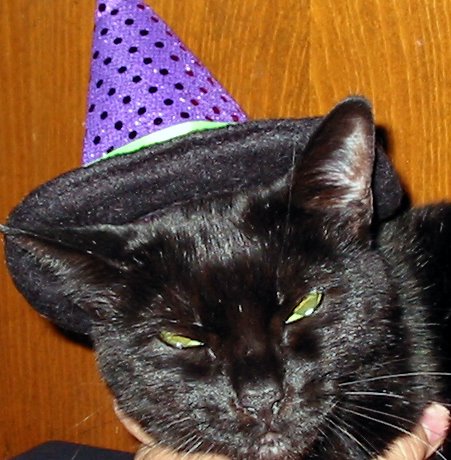
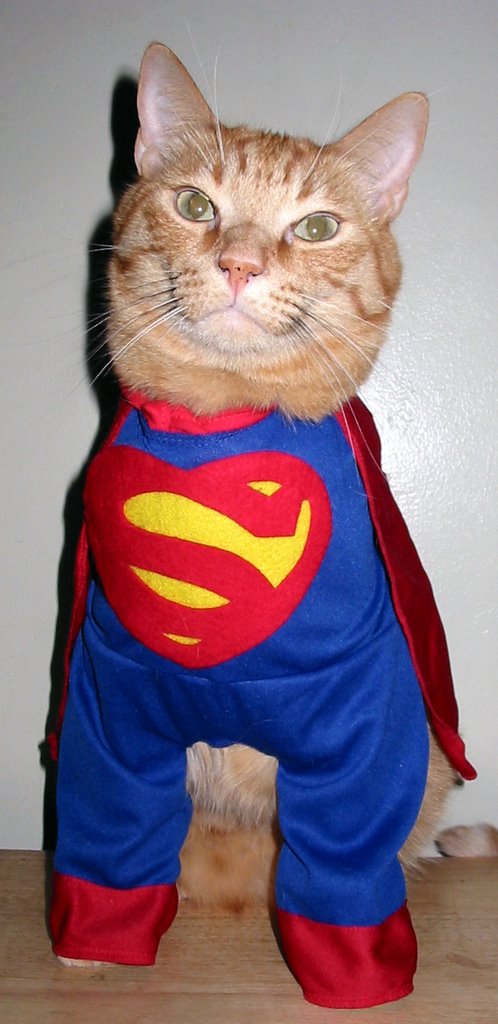 Simba the SuperCat is at your command! Wherever a ball of yarn lays unattended, wherever a good massage is to be had, wherever a can of catfood is being opened, you can count on SUPERCAT to save the day! Or at least, his day.
 For more photographs of humiliated cats in Halloween costumes, be sure to check out Simba and Zoe's blog on Halloween day.
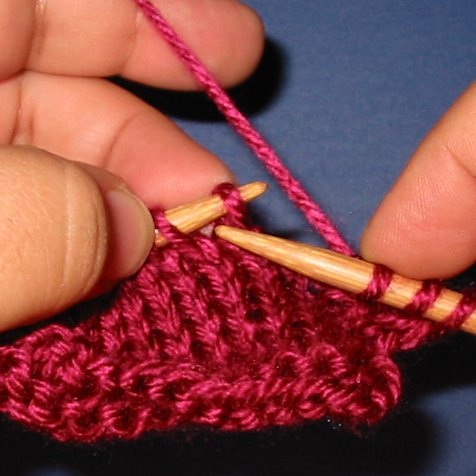


 Finally wound in all the loose ends and tied a couple forbidden knots while I was at it (I had to) and I'm finished. They're still a little big, even though I checked gauge. Next time I'll either go down a needle size or cast on less stitches. I'm just relieved I'm finished! Now I can start on something else. :)
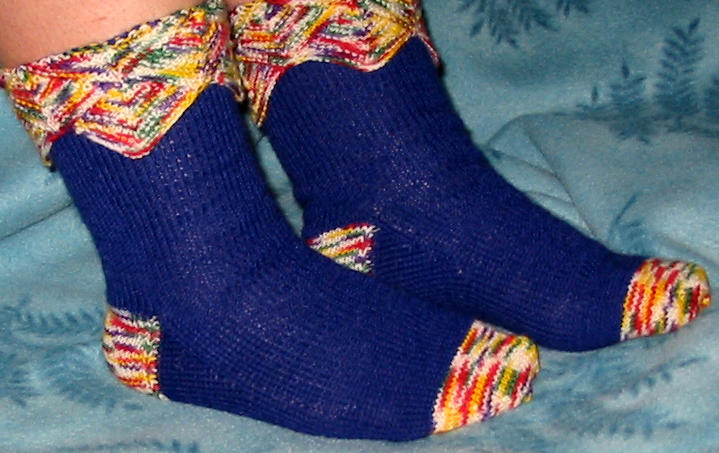
 Here's the first sock in it's unblocked glory! Now I just need to finish the toe on the second sock. These socks are going to be perfect for cold weather!

 I'm going to make this quick 'cause I'll probably knit swatches or projects out of this later which I'll post, but I wanted to show this to you (ok, mainly to Faythe who is equally as obsessed as I am). This is the sock yarn I purchased from Knitpicks. I'm not sure why, but the top left yarn is much darker in the photo than in person. It's dark green, Pine to be exact. The gray is called Ash and the tan is Fawn. Interestingly, while the other two match the photos pretty well, the yarn in the left bottom corner, Essential - Fawn looks nothing like the photo on the website. It looks like nylons, not the nice creamy color in the photo on their website. I'm pretty disappointed with this one. I can't imagine making socks out of this color. And you know how I am about yarn...if I hate it from the beginning, I will hate it to the end and will eventually talk crap about it behind its back. I'm thinking about returning it for a different color if they'll let me. But now I'm uncertain as to whether or not the yarn will look like the photo. Too bad they didn't have a color card for this yarn. Anyway, any suggestions as to what I should get?
 The top two hanks are Alpaca Cloud in Horizon (top) and Stream. The heathering is beautiful - I'm in love! And so soft! You need some, go buy it now!
 Meanwhile, the two socks and respective balls of yarn lie in a pile where I left them last night. Fortunately, needles do not appear to have chew marks and yarn appears to have not been touched by predators. Note to self: transfer notes written on paper napkin to knitting notebook.
I was pretty excited to get a package in the mail and ripped the box open. Oh yeah! So this is what she sent, some Halloween stickers, glow in the dark spiders, yarn, lotion, a cd and a nice card. :)
OK, now to the details...Can you believe she (assuming she's a she) sent me a cd?? A WHOLE CD? The soundtrack to Moulin Rouge!! EEEEEE!! She obviously read my Amazon wish list. I LOVE this album and am so happy she got it for me. What a truly unexpected surprise! THANK YOU!! I can't wait to drive to work so I can listen to it (I've been working from home these past several days).
I have the lotion here next to my computer and will definitely take this stuff to work. The lotion I've been using at work makes my hands itch. Aveda, GRRR!! I really like this Aveeno though. I'll definitely find some use for the stickers and spiders too. They're so cute!! And lastly, the yarn. It is SO soft! It's Landscapes, 70% Baby Alpaca, 30% Silk. AND NO FUZZ!! YEAH! This color card shows the yarn much better but look how beautiful it is! It's just perfect! I've really been falling in love with jewel tones lately, and red is my favorite. I can't wait to make something with it. Now I need to look through my patterns for something yummy to make with this.
Thank you SP! Woo hoo!

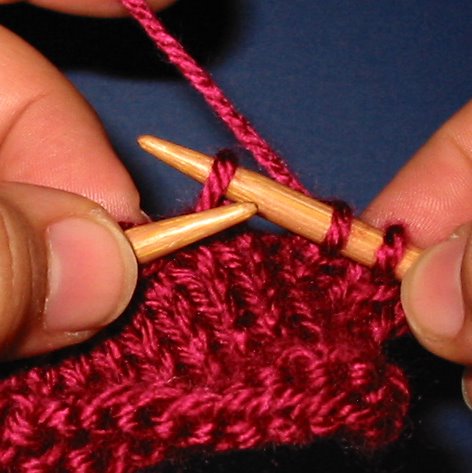
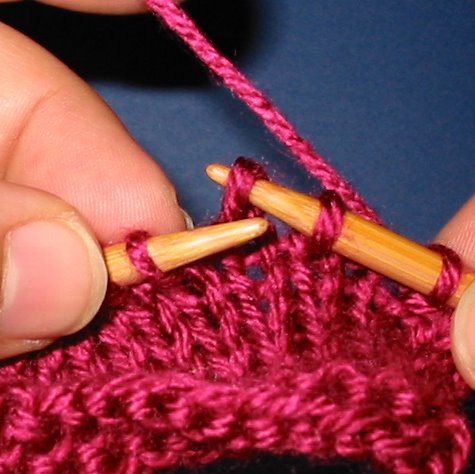
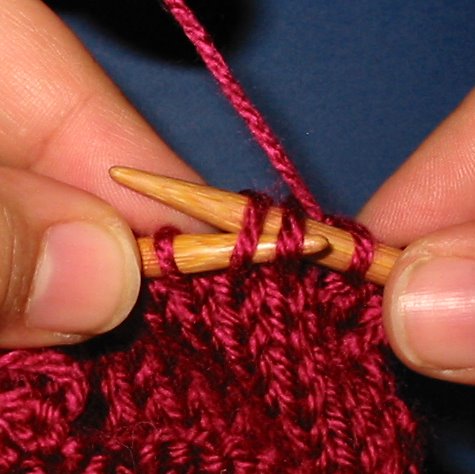
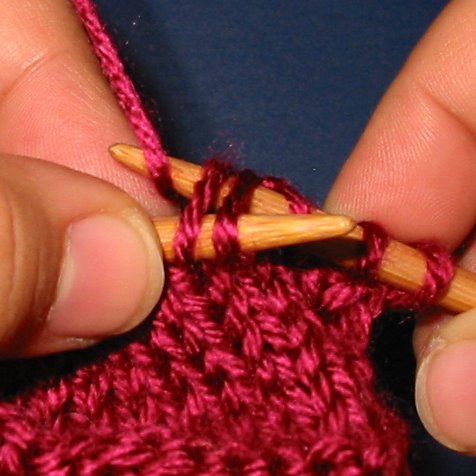
So first (1) you make the four diamonds. The four on the bottom in this photo are the original four. See (2)...this is an example of where you would start knitting to create the second level of diamonds. You start at the x on the right that I've drawn in and pick up a total of 23 stitches, working your way towards the x on the left. This connects the original four diamonds, creates four more (when you finally attach the first original diamond on the right and the last one on the left). Then at (3) you pick up 23 more stitches and end up making a triangle so the top is flat. After you do this all the way around, you will have created a cuff.
I'm so glad I finished both cuffs. The hard part is over!!
Oh yeah, there was an earthquake today. Jen felt it. Did I? No, I was frogging one of the cuffs, trying to figure out where I had added the extra stitch. grr!
 OK now that I reflect back on this, it's not so bad. However I still have a problem. Unfortunately, this photo didn't catch the details. *sigh* The "oh no she didn't" is in the details. (I literally followed this girl around like a paparazzi stalker, trying to get a good shot without anyone noticing. How sad is that?)
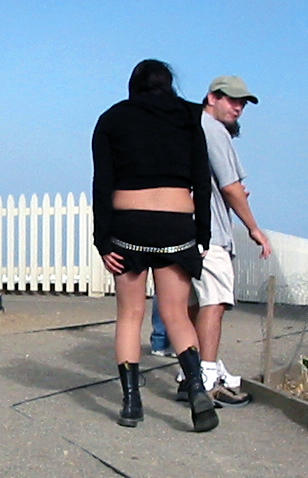 Speaking of making your body unattractive, note how having all the fabric on top also makes you look bulkier on top? Like a linebacker? Not good! This may also be due to girls hunching over trying to hide their chest. I'm not sure, but if you're willing to show your midsection, I'm not sure where the shyness comes from.
 *sigh* Girls. This what I'm talking about. Unfortunately, this the best example I have in this set of photos of how bad a pooch stomache looks with the low skirt look. But I think you know what I'm talking about. Up close you could see cellulite. And when she turned around, HAIR. Now, some of us latina's have hair in innappropriate places. It's an unfortunate genetic trait of some of us brown skinned people. Well, this girl had hair all over her lower back. NOT GOOD. Girls, you can avoid any sort of embarassing peep shows by covering up.
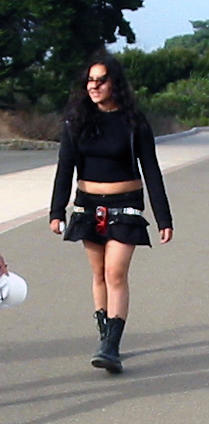 I'm sure she's a nice girl and she was actually really pretty. I know, she's just following the current fashion trends. But still, am I alone on this one?


Amongst some interesting things I saw, I also have a "Oh no she didn't" set of photos to discuss. I'll let you choose from the topics above.
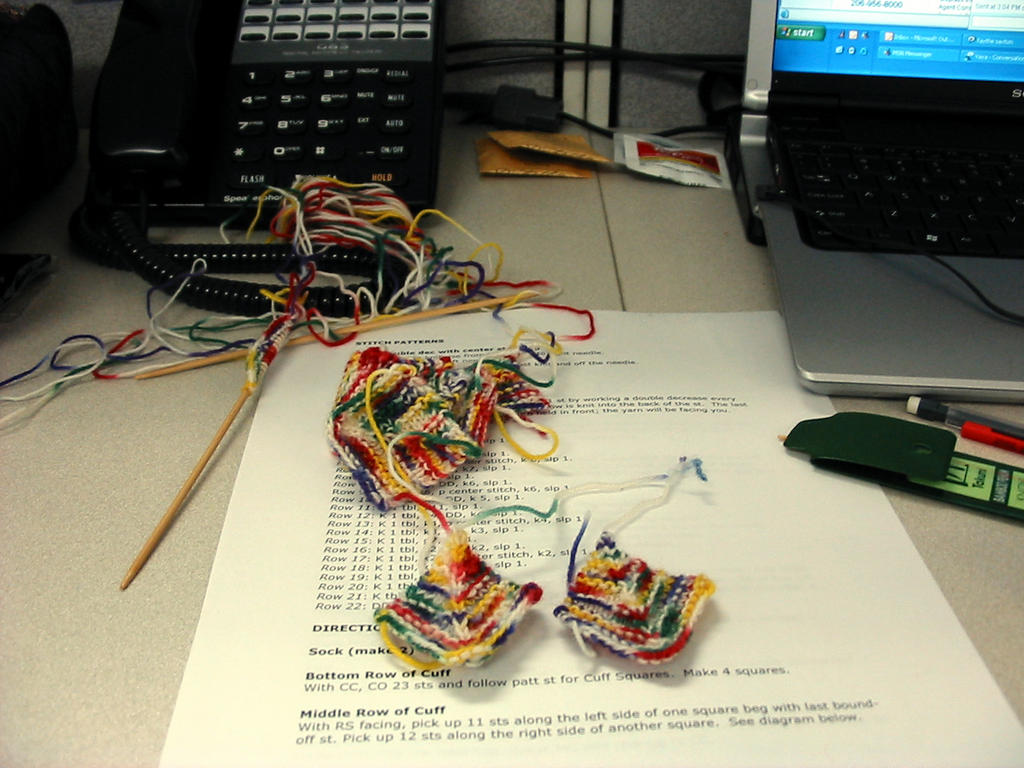 They started to look like little kites with the ends of the yarn hanging out. Since I like to avoid the dreaded SSS, I made all eight squares at once, rather than the four required for one sock.
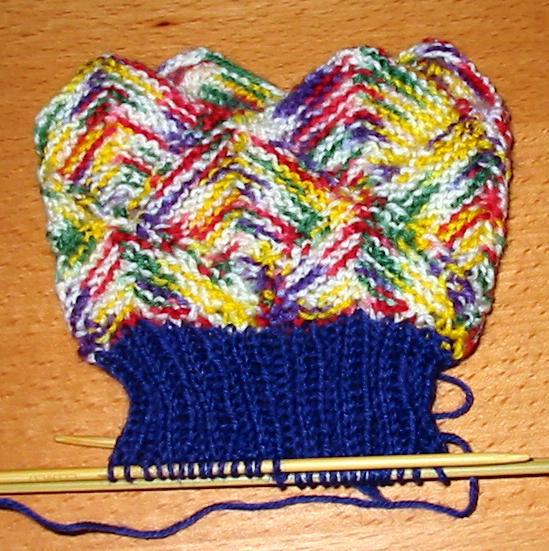 So last night I started attaching the squares. I had to stare at the pattern for a while and read it several times before I decided to 'Just do it' and hope it all worked out in the end. Wouldn't you know, it did! In this photo you see the wrong side of the cuff. Reason being after I knit some ribbing, the cuff folds down and joila! You have a sock with a mitered circus cuff! I'm not so sure about the blue color, but my only other option is yellow and it's not very bright. Plus, I was too eager to get started and didn't want to wait an extra day to go to a yarn store, so blue it is!
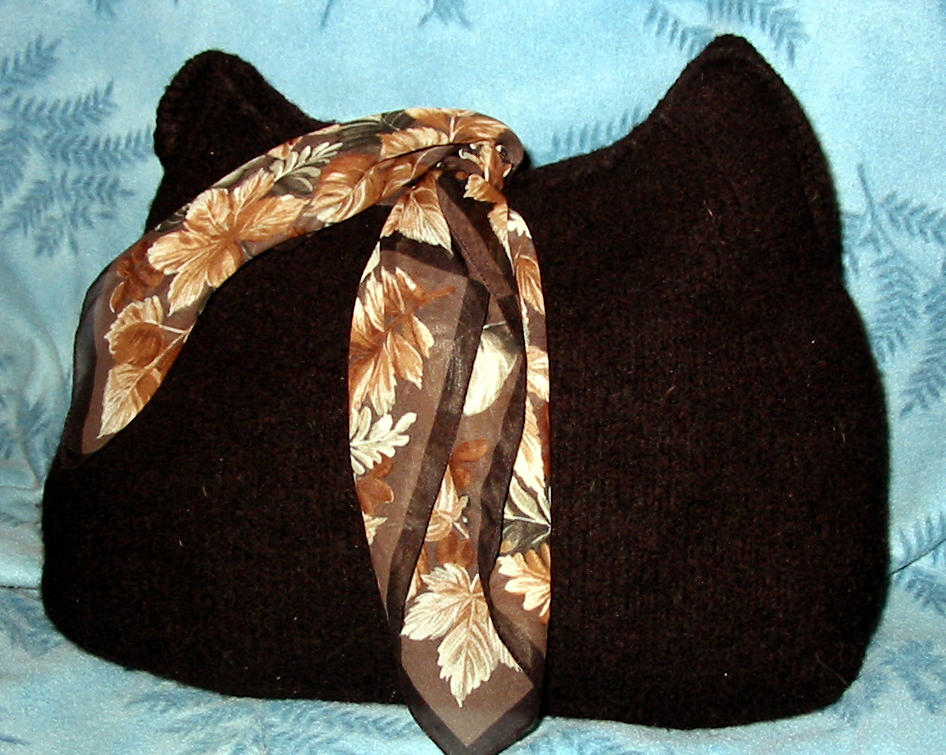
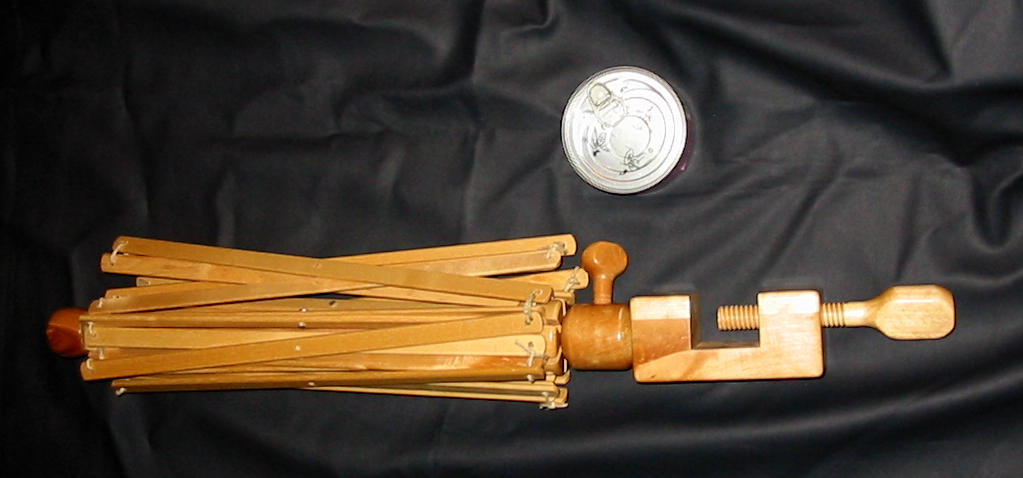 I mean, it's not teensy or anything, but it'll be easy to fold up and put away. That round silver thing is a cat food can for scale.
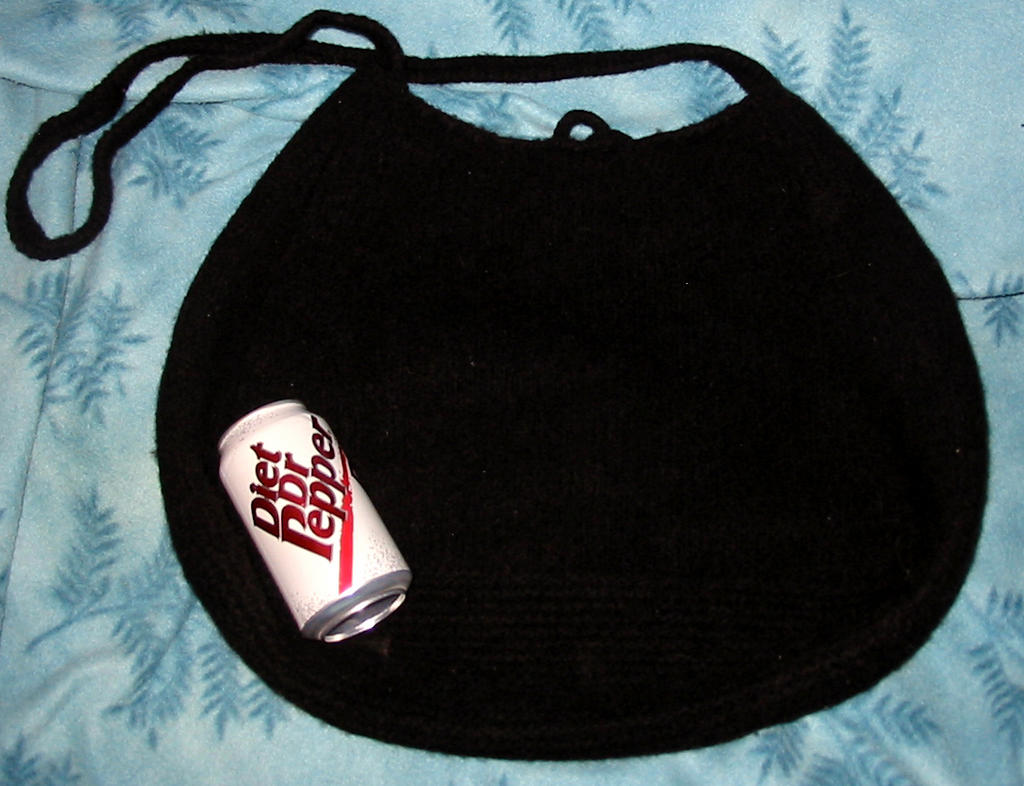 Yes, I felted her. Twice! The first time she was SO HUGE and shapely, she made me think of...a butt print. A BIG BUTT PRINT. And we won't talk about who's, OK? Shut up, Faythe! Anyway, I felted her again but this time in the laundry. I was sure to put her in a pillowcase to protect the wool and my clothes from each other. Unfortunately, we had forgotten about the feathers and down that had eeked their way out of my pillow into the case. As a result, the bag ended up with a bunch of white specks of goosey on it. Not good.
 OK, maybe these scarves don't exactly model the whole idea of attaining a different look, but you get the idea. Obviously, I still need to block this baby. But I wanted to post some photos before I forgot. Errrr, actually I did forget, hehe, but thankfully Candsmom reminded me. :)
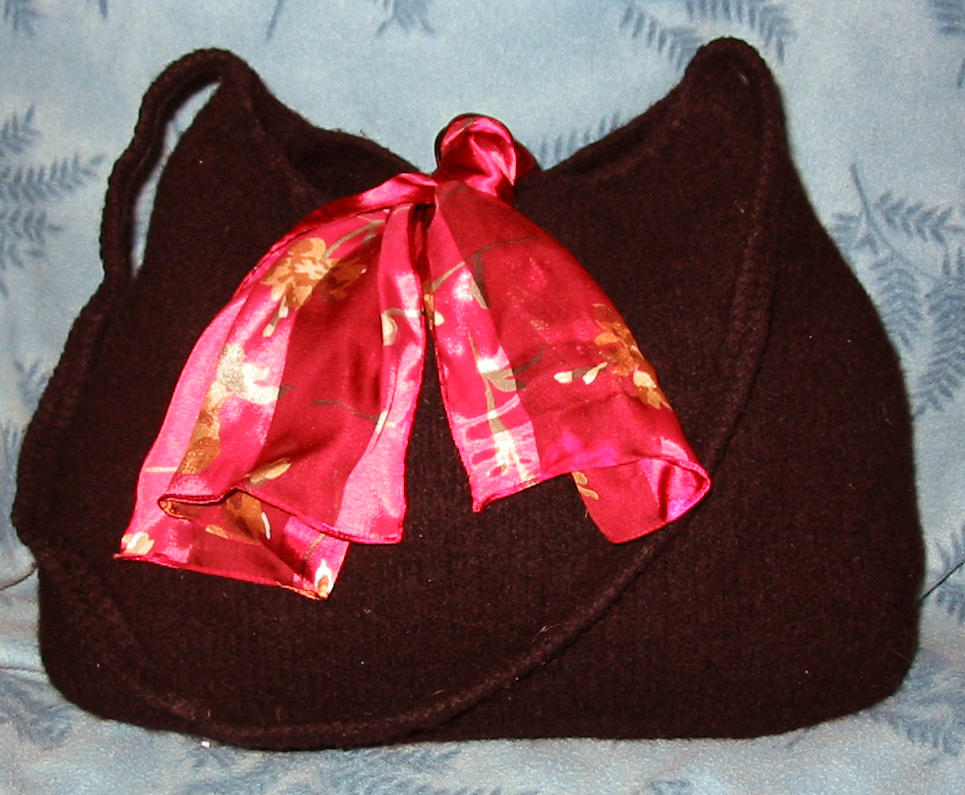
I have to say, I'm a little disappointed with this pattern. Honeslty I don't think it's the pattern, I think I've done something wrong. Next time I make it, I'm not going to use the 10's (or was it 10.5?)...I'm going to use 8's. I think that'll bring it down to my size. And definitely a shorter strap.
The only other thing I really don't like is how felted yarn attracts every tiny speck of dust. And you all know I live in a house of 2 cats with fur everywhere. Thankfully, Zoe's hair blends right in. Argh Simba, argh!!
 OK I think I've finally knit up the last swatch for Faythe. I threw in a few extra's I thought she might enjoy, including a small bit of Bamboo and some Lamb's Pride. I'm blocking and drying felted swatches in the bathroom where the cats won't find them. For some reason, they refuse to walk on the sink counter. This is an obvious safe place from cat terrorizing. Tomorrow I'll post my amateur review of the KnitPicks yarn I purchased along with some photos. Now that I'm done with the swatches I can start on my next real project.
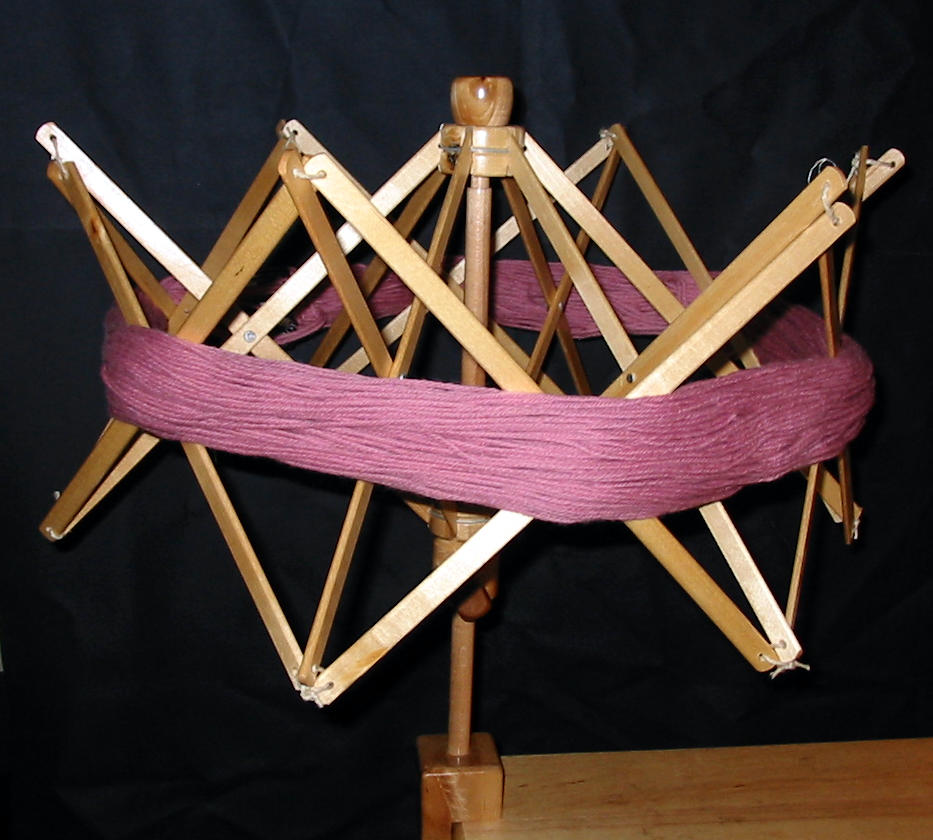
 I ordered a swift today from Joanns, thanks to Anne's advice about coupons (see earlier posts). I know it's pretty nerdy but I'm pretty damn excited about it. I mean, no more hours upon hours spent untangling and breaking lace yarn!! No more cats grabbing carefully layed out piles of lace and running freely with it as if it were a kite! No more aggravation! Once I get this bad boy home (it's much cooler than it looks in this photo) I'll order a yarn ball winder. Dude. I'm gonna be the cool kid on the block. HAHAHAHA!
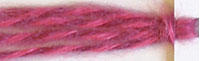 I chose 106 Bright Pink because I was trying to go outside my comfort zone (with much coaching from Laura and Janet). I'm happy with it too, I love the contrasting colors.
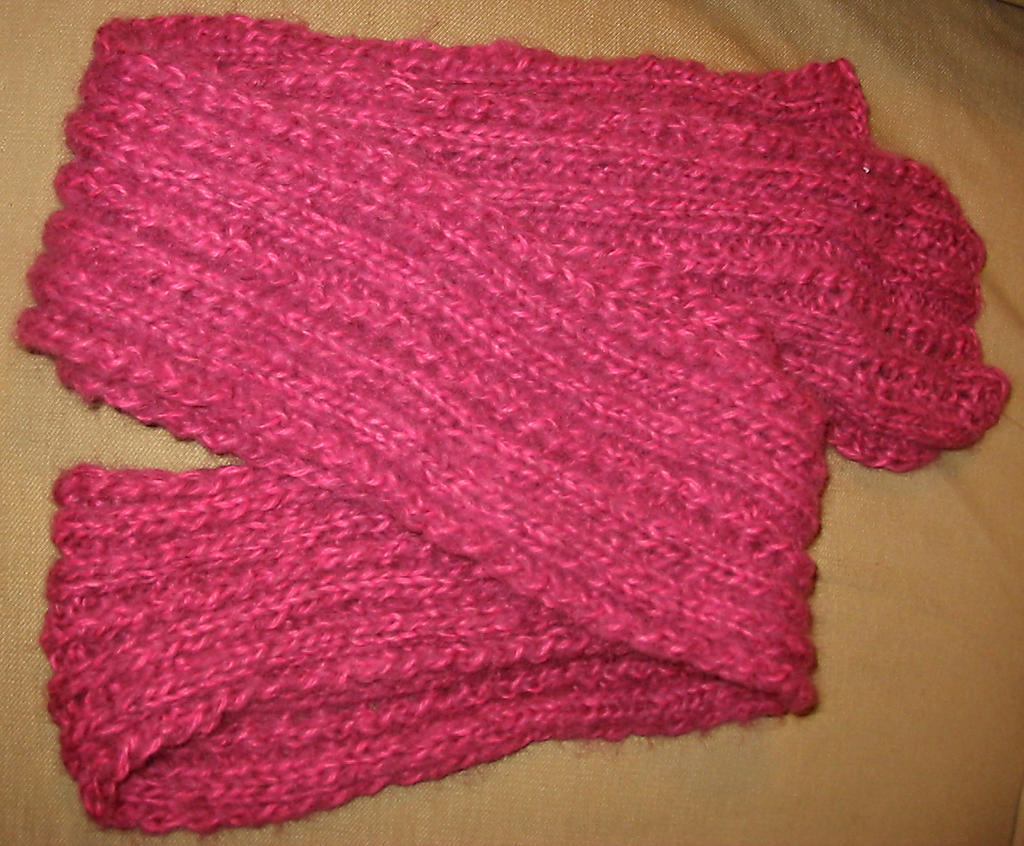 Speaking of commitment issues, I finally finished a scarf I started months ago. I bought some baby alpaca yarn with a birthday gift certificate from my good friends Joel, Janet and Laura to make a reversible lace scarf...that was oh...six months ago? GEEZE. I picked this pattern because it's reversible. After I made Faythe's cable scarf set last Christmas, I decided to only knit scarves with reversible patterns. I mean, I LOVE the cable pattern, but who wants to look at the back? If I make it again, I'll knit it with circulars and make it into a tube so you can't see the backside of the cable.
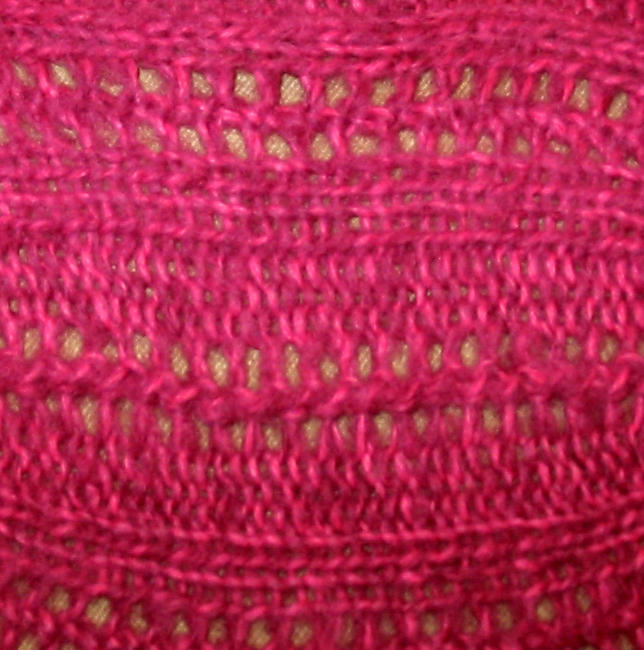

